Note: This DIY article is provided as a general guide only and is not intended to take the place of product-specific installation procedures; always follow applicable manufacturers’ instructions. Depending on your home’s age and condition, location within the home, and other potential factors, repairs and/or upgrades or other services may be necessary prior to the beginning and/or completion of your project that may involve the services of a home improvement professional. This article does not include advice pertaining to local building codes and/or any related inspections.
A caulking gun is an essential tool for anyone looking to achieve a professional finish on sealing jobs around the home or workplace. Using a caulking gun allows you to apply sealants with precision, saving time and reducing waste compared to manual methods. Whether you’re tackling windows, doors, or bathroom fixtures, a caulking gun makes it easy to apply an even bead of sealant with high-quality results.
Parts of a caulking gun
A caulking silicone gun consists of several key components that coordinate to provide a smooth and controlled application of sealant. Understanding these parts can help you operate the tool more effectively and achieve professional results. Here are the main components of a caulking gun:
- Frame: The frame holds the caulk tube securely in place. It comes in various types, including open and closed frames, each offering different levels of visibility and support.
- Trigger: The trigger is what you squeeze to push the sealant through the nozzle. A good trigger should be easy to press, allowing you to control the flow with minimal effort. Many caulking guns also feature an ergonomic grip for added comfort during extended use.
- Plunger: The plunger is a metal rod that pushes against the back of the caulk tube as you press the trigger. This component ensures that the sealant is dispensed evenly. Some models include a ratchet mechanism to prevent the plunger from moving backward and to allow for consistent pressure.
- Nozzle: The nozzle directs the sealant onto the surface. It should be kept clean and free of clogs to ensure a smooth application. Different nozzle sizes and shapes are available, depending on the type of sealant and the job.
Choosing a caulking gun with the right features can significantly enhance your results.
Features to look for when buying a caulking gun
When choosing a caulking gun, certain features like ergonomic design, drip-free technology, and the right thrust ratio can make a big difference in ease of use and effectiveness. Also, consider electric over manual for larger jobs.
When choosing a caulking gun, certain features can make a big difference in ease of use and effectiveness. Here are some key features to consider:
- Ergonomic design: Look for a caulking gun with a comfortable grip, especially if you’ll be using it for extended periods. An ergonomic design reduces hand strain and makes the gun easier to control.
- Drip-free technology: Some caulking guns have an automatic drip-stop feature that prevents sealant from leaking when you release the trigger. This can save time on cleanup and ensure a neat application.
- Thrust ratio: The thrust ratio determines how much force is applied to the tube with each trigger squeeze. A higher thrust ratio — e.g., 10:1 or 12:1 — is ideal for thicker sealants or heavier-duty tasks.
- Manual vs electric: Manual caulking guns are suitable for smaller jobs, while electric or battery-powered models offer more power and are easier to use for longer periods.
How to use a caulking gun
Even if you’re unfamiliar, you can quickly learn how to operate a caulking gun effectively with some basic guidance. Follow these steps to properly load and use a caulking gun:
-
Prepare the caulk tube
Start by cutting the nozzle at a 45-degree angle to create an opening. The size of the opening should match the width of the gap you’re sealing. Next, puncture the seal inside the tube using the tool attached to the caulking gun or a long nail.
-
Load the tube into the gun
Pull back the plunger all the way to make space for the tube. Place the tube into the frame, with the nozzle facing forward. Push the plunger forward until it rests against the back of the tube.
-
Adjust the plunge
Squeeze the trigger a few times until you feel resistance. This ensures that the plunger is pressing against the tube and that the sealant is ready to be dispensed.
-
Apply the sealant
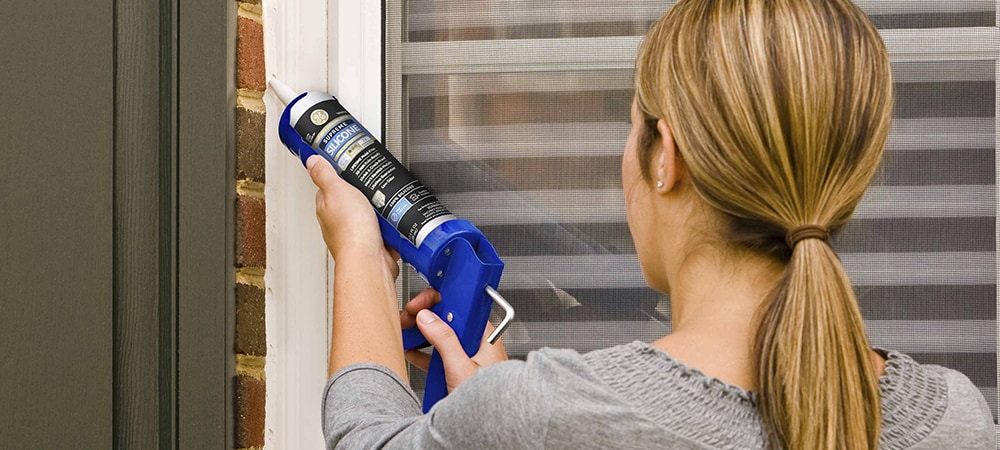
Hold the gun at a 45-degree angle to the surface. Squeeze the trigger gently while moving the gun along the seam you wish to seal. Keep a steady pace to avoid uneven application. If your caulking gun has a drip-stop feature, use it to prevent excess sealant from flowing out when you release the trigger.
-
Smooth the sealant bead
Once applied, use a caulk finishing tool or your finger — dipped in water — to smooth the bead for a clean finish. Wipe away any excess sealant with a damp cloth.
By following these steps, you can achieve a professional-grade application with minimal hassle. Practice and familiarity with your caulking gun will further improve your precision.
Benefits of using a caulking gun for various jobs
Using a caulking gun offers several benefits for sealing projects. Here are some of the key advantages:
- Precision and control: A caulking gun allows for accurate application, helping you apply sealant exactly where it is needed. This precision is especially helpful for detailed jobs like sealing corners and narrow gaps.
- Time efficiency: Compared to manual application, a caulking gun speeds up the process significantly. It dispenses sealant evenly, which reduces the need for rework and makes large jobs easier to complete.
- Consistency of application: A caulking gun ensures a smooth, continuous bead of sealant. This consistency improves the seal’s durability and appearance.
- Versatility for various tasks: Caulking guns are compatible with different types of sealants, making them suitable for a range of tasks, from sealing windows and doors to waterproofing bathrooms.
GE Sealant products to use with your caulking gun
For optimal results in DIY sealing tasks, GE offers a range of silicone sealants suitable for different applications.
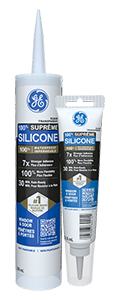
- Supreme Silicone Window & Door Sealant is ideal for outdoor sealing, offering flexibility and quick rain readiness.
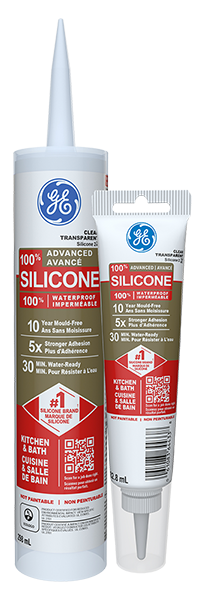
- For bathrooms and kitchens, Advanced Silicone 2® Kitchen & Bath Sealant provides excellent mould resistance and durability.

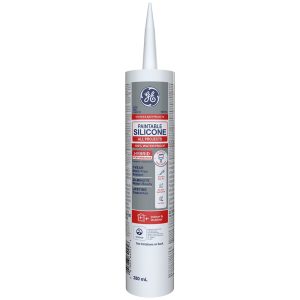
- Additionally, Paintable Silicone All Projects Sealant works well for surfaces requiring a painted finish. Each product is designed for specific uses, ensuring a reliable seal with long-lasting results.
To get GE Sealant products for your home improvement project, visit these fine retailers.


