Note: This DIY article is provided as a general guide only and is not intended to take the place of product-specific installation procedures; always follow applicable manufacturers’ instructions. Depending on your home’s age and condition, location within the home, and other potential factors, repairs and/or upgrades or other services may be necessary prior to the beginning and/or completion of your project that may involve the services of a home improvement professional. This article does not include advice pertaining to local building codes and/or any related inspections.
Sealing windows and doors effectively is an essential DIY skill for homeowners. Properly sealed windows and doors prevent drafts, reduce energy costs, and help you maintain a comfortable indoor environment. On the other hand, poor sealing causes air leakage, water infiltration, and — in extreme cases — long-term structural damage to your home.
9 steps for sealing windows and doors in your home
In this guide, we’ll walk you through the process of sealing windows and doors to ensure they are fully protected against air and moisture. Whether you’re preparing your home for winter or simply looking to improve your home’s energy performance, following these steps will help you achieve professional results.
-
Inspect the area
Before applying any sealant or foam, thoroughly inspect the windows and doors you plan to seal. Look for existing gaps, cracks, or damage around the frames, as these areas may need repair before sealing. Make sure the surfaces are clean, dry, and free of dust or old caulking. Caulk residue and dust can prevent new materials from adhering properly. Pay close attention to corners and joints, where air and water leakage are more common. By starting with a clean and prepared surface, you’ll achieve a longer-lasting, more effective seal.
-
Choose the right materials
When sealing windows and doors, the quality of the outcome largely depends on the quality of the materials you choose. You can use either silicone or polyurethane sealant. However, silicone sealant is generally preferable to polyurethane for this task due to its superior flexibility and weather resistance.

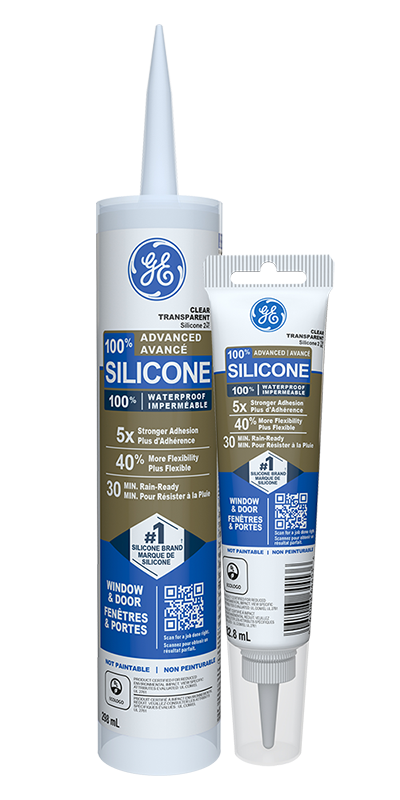
A photo of Supreme Silicone Window & Door Sealant Silicone sealants like Supreme Silicone Window & Door Sealant hold an effective seal in extreme temperatures. For the same degree of protection but in a variety of color options, choose Advanced Silicone 2® Window & Door Sealant. Silicone also resists UV degradation, which is important for exterior applications. Polyurethane, while strong, can break down more quickly when exposed to sunlight and fluctuating temperatures.
-
Apply painter’s tape
Place painter’s tape at the edges around the window or door frames to protect adjacent surfaces and help you maintain straight lines. Then measure the gaps around the windows and doors to determine how much sealant or foam you’ll need. Taking the time to prep the area properly helps prevent over-application and ensures an even, effective seal around the frame.
-
Apply insulating foam around windows and doors
Expanding foam insulation is ideal for filling large gaps around windows and doors, as it provides both insulation and an airtight seal. Choose a foam specifically designed for windows and doors. Standard foams expand more and may warp your window and door frames. Hold the can upright and apply the foam in layers, filling gaps to about 50% to allow room for expansion. Be patient and resist the urge to fill the gap entirely, as an excess of even the right foam can create pressure that deforms window and door frames.
Apply the foam at a depth that fills the gap upon expansion but doesn’t spill out from the frame. If foam overflows, wait for it to dry and then trim the excess with a utility knife. Always wear gloves and protective eyewear while applying foam to avoid irritation.
-
Apply sealant
After applying insulating foam, it’s time to seal the edges with sealant or foam. While foam fills larger gaps and provides insulation, silicone sealant creates a waterproof barrier around window and door frames.
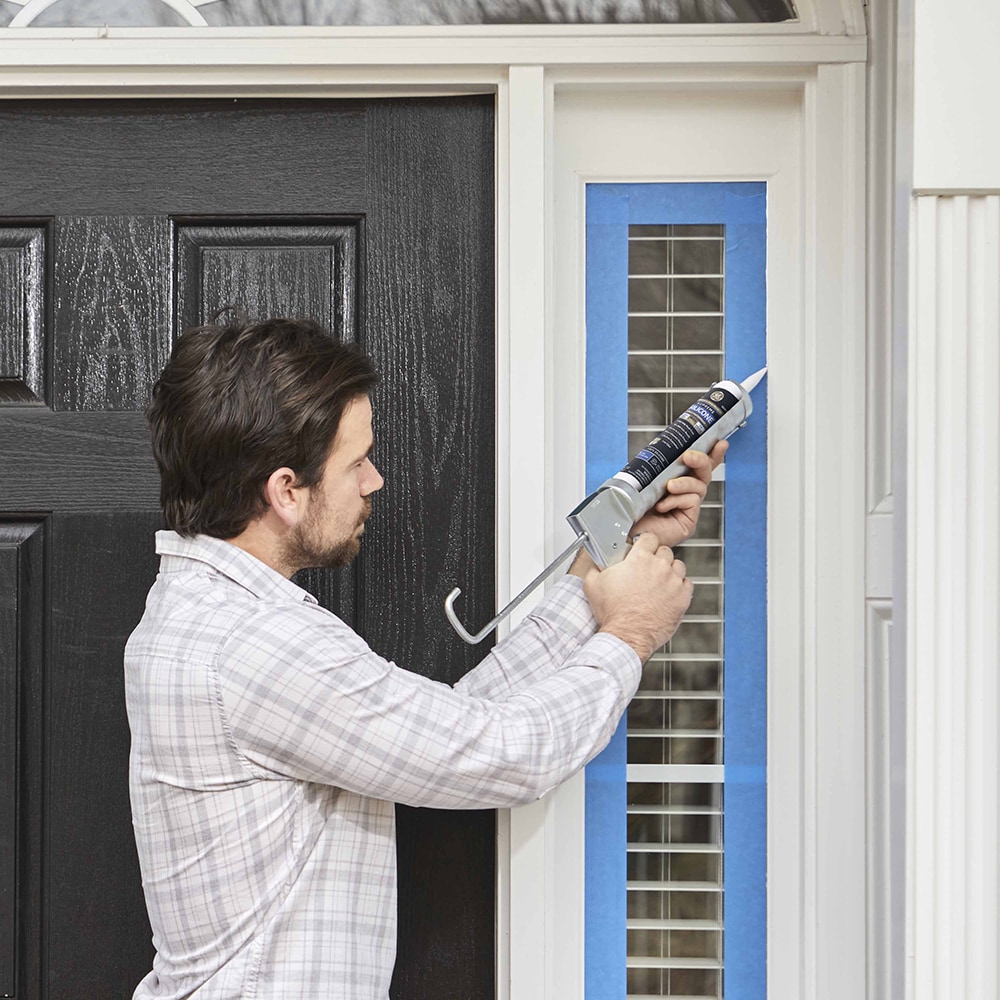
Start by cutting the tip of the sealant tube at a 45-degree angle for better control. Apply a continuous bead of sealant around the perimeter where the frame meets the wall or siding. Use steady, even pressure on the caulking gun, and smooth the bead with a gloved finger or caulk-smoothing tool for a clean finish. Make sure not to seal over areas that allow for movement or drainage.
Don’t block window weep holes during the sealing process. Weep holes prevent water buildup that causes rot or mould. Leave weep holes clear to maintain proper drainage and protect the window from water damage.
-
Seal
Weep holes are small openings at the bottom of window frames designed to allow water to escape. It’s important not to block these during the sealing process, as they play an essential role in preventing water buildup that causes rot or mould. While sealing the rest of the window frame is important, leaving weep holes clear helps maintain proper drainage and protects the window from water damage.
When applying sealant or foam around windows, avoid covering the weep holes. If you accidentally seal the holes, use a small tool like a screwdriver to clear the blockage after the sealant has set. For extra caution, consider using tape to mark off the weep holes before you begin sealing. Keeping these drainage pathways open allows rainwater or condensation to escape.
-
Test the sealed areas for leaks and drainage
Once you’ve sealed the windows and doors, check that the weep holes are functioning correctly. Pour a small amount of water along the bottom edge of the window frame and watch to see if it drains through the weep holes. If water pools or doesn’t drain, check to see if sealant or debris is blocking the openings. This simple test will save you headaches and repair costs later on.
-
Allow the sealant to cure
After applying sealant, allow adequate curing time before exposing it to moisture or extreme temperatures. Depending on the type of sealant used, curing may take anywhere from 24 to 48 hours. In any case, follow the manufacturer’s guidelines to ensure the sealant is set properly.
-
Check sealant for gaps
After the sealant cures, inspect all sealed areas for gaps or weak spots. Pay special attention to areas prone to moisture. Re-inspect after a rainstorm or seasonal change to check that the seals remain intact. Regular inspections help maintain long-term effectiveness and protect against potential water damage.
To get GE Sealants’ products for your home improvement project, visit these fine retailers.


